San Francisco
The light airy starter the new world created

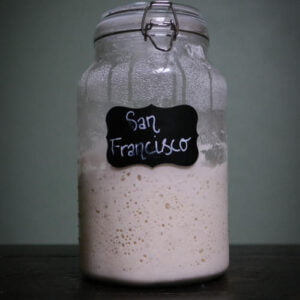
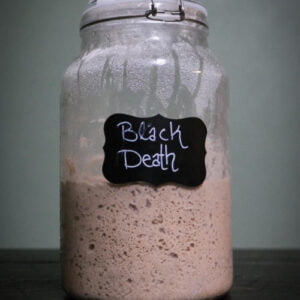
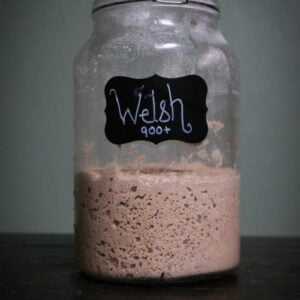
Which Starter Do You Have?


Don't Have One Yet? Discover Your Perfect Sourdough Starter
Haven’t found your ideal sourdough starter yet? Dive into our unique collection and bring the taste of tradition to your kitchen. Explore our rare and hard-to-find starters, each with a story as rich as its flavor. Start your sourdough journey with Nottingham Farm today!


San Francisco 200
The history of San Francisco sourdough starter is as rich and tangy as the bread it produces. Legend has it that the origins of this iconic starter trace back to the California Gold Rush era in the mid-1800s. During this time, miners and settlers from around the world flocked to San Francisco in search of fortune, bringing with them their own sourdough cultures.
As the story goes, the unique microorganisms present in the San Francisco air and environment combined with the diverse array of sourdough cultures brought by these immigrants gave rise to a distinctively flavorful and robust sourdough starter. This starter, often referred to as “San Francisco sourdough” or simply “San Francisco starter,” became renowned for its tangy taste, chewy texture, and long shelf life.
San Francisco sourdough quickly became a staple of the city’s culinary identity, with bakeries sprouting up across the region to meet the demand for this beloved bread. Its popularity continued to grow throughout the 20th century, solidifying its status as an iconic symbol of San Francisco’s gastronomic culture.
Today, San Francisco sourdough remains a cherished tradition, with bakeries and home bakers alike preserving and perpetuating its legacy. While the exact origins of the San Francisco sourdough starter may be shrouded in myth and legend, its enduring appeal and distinctive flavor continue to captivate bread lovers around the world.
Unbleached Bread Flour
The flour used to feed the San Francisco 200 sourdough starter is unbleached bread flour.
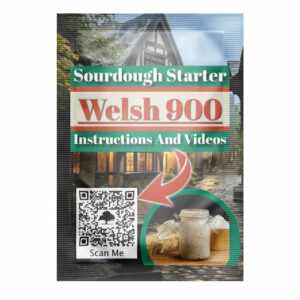
Where are the instructions?
Thank you
Thank you so much for supporting our family farm. We hope you enjoy our sourdough starters. Our goal is to find the best, and rarest, sourdough starters and then share the joy of sourdough with you. Below you’ll find “10 Days To Becoming A Sourdough Master” we hope this will be a good starting point for your sourdough journey.
The Flour To Use For The San Francisco Sourdough Starter
The San Francisco 200 starter requires
Unbleached Bread Flour
For all feedings
10 Days To Becoming a Sourdough Master
Sourdough is exciting but it can be daunting and we’d like to help you through some of the first steps. We’ve created an example first 10 days for you to take step by step. With something small to learn each day.
First Steps - Getting that Starter Started!
Live Starter - See this Video
Dehydrated Sourdough Starter Instructions
First Steps In Bread Making- Autolysing Terminology
Today we will be feeding our sourdough again and seeing if it doubles in size and learning some terminology. If you want to keep the starter in a smaller jar you can discard (throw away) half of it and then add 50 grams of UNBLEACHED BREAD FLOUR for the feeding process.
Sourdough terminology:
Before we get to the exciting baking, in a couple of days' time, we need to understand what people are telling us. The sourdough world can seem confusing and we want to make it easy. Today we will talk about autolysing.
First Steps In Bread Making- Stretch And Folds
Today we will be feeding our sourdough again and seeing if it doubles in size within 6 hours and learning some new techniques.
If you want to keep the starter in a smaller jar you can discard (throw away) half of it and then add 50 grams of UNBLEACHED BREAD FLOUR for the feeding process.
If it does double in size in six hours then your starter is ready to start baking
Gluten Building
"Stretch and Folds" are an important part of sourdough baking. It helps build the gluten and allows shaping of the dough. Today we are going to learn 5 ways to build that gluten.
First Recipe - Waffles!!!
Day 4: Don't forget to feed your starter again today and see if it is doubling in size.
Why don't we use some of that discarded sourdough starter and make the kids happy at the same time?
Today we will use that discarded starter to make something yummy. Learn how to make sourdough waffles better than store bought.
What Is Cold Fermentation? - Sourdough Baking Terminology
Sometimes in a recipe, you'll see the words, cold retard, cold ferment or simply place your dough in the refrigerator for x time. Today's lesson is to learn what this means and to do that we have a quick 2-minute video explaining what this means, why it is done and what the benefits are.
Don't forget to feed your Sourdough again and see if it doubles in size in 6 hours. When it does it will be ready to go for bread baking. It can reactivate in one day or 10 days so don't worry about it just yet.
Check Out The Cook Book
Today we are going to familiarise ourselves with some of the recipes we may be using over the next few days. This is to get a feel for the terminology and to decide what recipes you may want to try. Click the cookbook below to read through the different recipes.
Don't forget to feed your starter today and throw away (discard) any excess if it is getting too big for your jar. You can also use this "discard" to create waffles like the recipe above so it does not go to waste.
The Science Of Sourdough
Well, it's time to get your nerd hat on. Understanding the science behind sourdough baking can give you an overall picture of what is happening and help us understand what we need to do and change to make changes in our loaves.
But don't worry it is only 5 minutes long and an easy listen.
Come Back Every Day For Yor First 10 Days – A New Day Every Day
Store
-
Sale!

-
Sale!
-
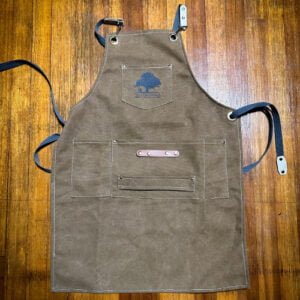
Sourdough Apron – Adult
$29.99 -
-
Sale!
-
Sale!
-
Sale!
Deluxe Sourdough Baking Kit
$49.99 -
-
-


Sourdough Bible
Baking FAQ's
- Step-By-Step basic process to baking with sourdough
- What is autolysing in sourdough baking
- Can I freeze my bread?
- What is a Dutch Oven
- What is open and closed baking?
- What is the difference between proofing and fermentation?
- The four methods of building tension in your dough.
- Why do I need to build gluten?
- What does salt do to my dough?
- What is a levain and why would I use it?
Starter FAQ's
- My Starter Isn’t Working / Rising
- Welsh 900 sourdough starter: Maintenance Instructions
- San Francisco Sourdough Starter: Maintenance Instructions
- Black Death Sourdough Starter: Maintenance Instructions
- can I use a metal container?
- Can a starter really last forever?
- What type of lid should I use for my starter?
- Do I Need A Scale?
- Do I Need To Keep Buying Starter
- Are plastic containers bad?
Sourdough Recipes
- Basic Sourdough Bread Recipe – Welsh 900 Starter
- Basic Artisan loaf – San Francisco 200
- Basic Artisan bread loaf – Black Death 400
- Dinner Rolls – Welsh 900 (Same Day)
- Dinner Rolls – San Francisco 200 (Same Day)
- Dinner Rolls – Black Death 400 (Same Day)
- Lemon Cinnamon Roll Loaf – Welsh 900
- Lemon Cinnamon Roll Loaf – San Francisco