

You’ve Turned To The Dark Side
Bavarian
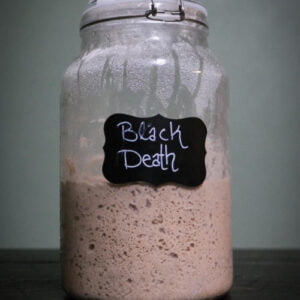
Black Death Sourdough
Germany
Est. 1633

About Bavarian Black Death
The oral history of the Bavarian Black Death Sourdough Starter states it’s creation was in southern Germany around the time the Black Death (1633) was ravaging the world. That time period, plus, the dark colouring of the loaves, due to the dark rye flour, lent itself to the naming of the starter.
Now it’s the starter to have for those artisan dinner party loaves that leave guests stunned by it’s beauty, taste and amazing health benefits.
Today it’s not unusual to find dark rye baguettes on the hillsides of Germany or in the bars and restaurants of the biggest cities.

Dried Sourdough Instructions Video
10 Days to becoming a sourdough master
Second Steps - Getting that Starter Fed
Live Or Reconstituted Dehydrated Starter - See this Video
important
This Video shows how to feed your starter. It is to be watched if you have a live starter or have taken the first steps with your dehydrated starter.
First Steps In Bread Making- Autolysing Terminology
Today we will be feeding our sourdough again and seeing if it doubles in size and learning some terminology. If you want to keep the starter in a smaller jar you can discard (throw away) half of it and then add 50 grams of UNBLEACHED Dark Rye Flour for the feeding process.
Sourdough terminology:
Before we get to the exciting baking, in a couple of days' time, we need to understand what people are telling us. The sourdough world can seem confusing and we want to make it easy. Today we will talk about autolysing.
First Steps In Bread Making- Stretch And Folds
Today we will be feeding our sourdough again and seeing if it doubles in size within 6 hours and learning some new techniques.
If you want to keep the starter in a smaller jar you can discard (throw away) half of it and then add 50 grams of UNBLEACHED DARK RYE FLOUR for the feeding process.
If it does double in size in six hours then your starter is ready to start baking
Gluten Building
"Stretch and Folds" are an important part of sourdough baking. It helps build the gluten and allows shaping of the dough. Today we are going to learn 5 ways to build that gluten.
First Recipe - Waffles!!!
Day 4: Don't forget to feed your starter again today and see if it is doubling in size.
Why don't we use some of that discarded sourdough starter and make the kids happy at the same time?
Today we will use that discarded starter to make something yummy. Learn how to make sourdough waffles better than store bought.
What Is Cold Fermentation? - Sourdough Baking Terminology
Sometimes in a recipe, you'll see the words, cold retard, cold ferment or simply place your dough in the refrigerator for x time. Today's lesson is to learn what this means and to do that we have a quick 2-minute video explaining what this means, why it is done and what the benefits are.
Don't forget to feed your Sourdough again and see if it doubles in size in 6 hours. When it does it will be ready to go for bread baking. It can reactivate in one day or 10 days so don't worry about it just yet.
Check Out The Cook Book
Today we are going to familiarise ourselves with some of the recipes we may be using over the next few days. This is to get a feel for the terminology and to decide what recipes you may want to try. Click the cookbook below to read through the different recipes.
Don't forget to feed your starter today and throw away (discard) any excess if it is getting too big for your jar. You can also use this "discard" to create waffles like the recipe above so it does not go to waste.
The Science Of Sourdough
Well, it's time to get your nerd hat on. Understanding the science behind sourdough baking can give you an overall picture of what is happening and help us understand what we need to do and change to make changes in our loaves.
But don't worry it is only 5 minutes long and an easy listen.
Store
-
Sale!

-
Sale!
-
Sourdough Apron – Adult
$29.99 -
-
Sale!
-
Sale!
-
Sale!
Deluxe Sourdough Baking Kit
$49.99 -
-
-


Sourdough Bible
Baking FAQ's
- Step-By-Step basic process to baking with sourdough
- What is autolysing in sourdough baking
- Can I freeze my bread?
- What is a Dutch Oven
- What is open and closed baking?
- What is the difference between proofing and fermentation?
- The four methods of building tension in your dough.
- Why do I need to build gluten?
- What does salt do to my dough?
- What is a levain and why would I use it?
Starter FAQ's
- My Starter Isn’t Working / Rising
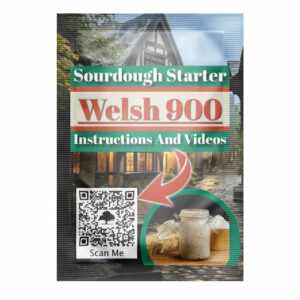
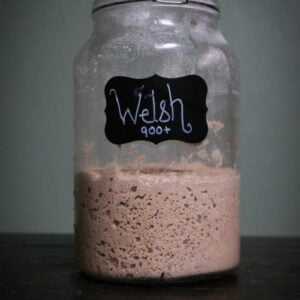
- Welsh 900 sourdough starter: Maintenance Instructions
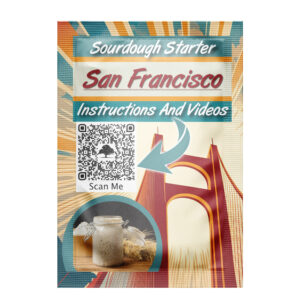
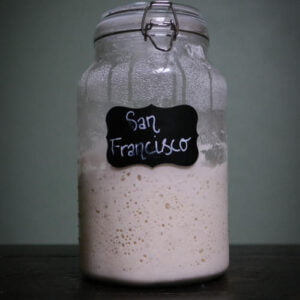
- San Francisco Sourdough Starter: Maintenance Instructions
- Black Death Sourdough Starter: Maintenance Instructions
- can I use a metal container?
- Can a starter really last forever?
- What type of lid should I use for my starter?
- Do I Need A Scale?
- Do I Need To Keep Buying Starter
- Are plastic containers bad?
Sourdough Recipes
- Basic Sourdough Bread Recipe – Welsh 900 Starter
- Basic Artisan loaf – San Francisco 200
- Basic Artisan bread loaf – Black Death 400
- Dinner Rolls – Welsh 900 (Same Day)
- Dinner Rolls – San Francisco 200 (Same Day)
- Dinner Rolls – Black Death 400 (Same Day)
- Lemon Cinnamon Roll Loaf – Welsh 900
- Lemon Cinnamon Roll Loaf – San Francisco
