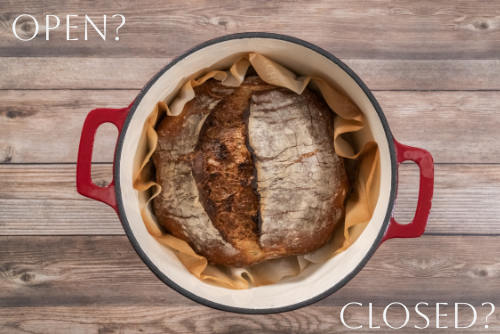
A Dutch oven is a versatile cooking pot with thick walls and a tight-fitting lid, usually made of cast iron and coated in enamel. It is very popular in amongst sourdough bakers.
Here’s how a Dutch oven is typically used in sourdough baking:
- Preheating the Dutch Oven: Before you start baking, preheat the Dutch oven in the oven. This ensures that the pot is extremely hot when you place the bread dough inside. (If your dough is cold, it is okay to put your dough in the Dutch Oven during the preheat stage)
- Shaping and Proofing the Dough: After the sourdough dough has undergone bulk fermentation and shaping, it needs to undergo the final proofing. Traditionally, this final rise occurs in a proofing basket. However, for Dutch oven baking, you can proof the dough in the basket or on a piece of parchment paper/silicone sling that will later go into the pot.
- Scoring the Dough: Just before baking, the surface of the sourdough is often scored with a sharp knife or razor blade. Scoring allows the dough to expand in a controlled manner during baking. It allows any gasses to escape.
- Baking in the Dutch Oven: Once the Dutch oven is thoroughly preheated, carefully transfer the proofed dough into it. If the dough is on parchment paper (we prefer silicone slings), you can use the paper to lower the dough into the hot pot. The lid of the Dutch oven is then placed back on.
- Baking with Lid On and Off: The initial phase of baking is done with the lid on. This promotes oven spring, giving the bread a good rise. After a certain time, about 75% of the bake, the lid is taken off. This allows the crust to further develop and become crispy and golden brown. If you want a softer crust, leave the lid on longer.
- Cooling: Once the baking is complete, the bread is removed from the Dutch oven and allowed to cool. The result is a well-risen, crusty sourdough loaf with a soft and chewy interior.
For an explanation of open and closed sourdough baking click here


